
Sending out reminders to customers for upcoming or past due invoices can take a lot of time out of your busy day. Setting up collections plans to automate this process is simple. Click here to learn how to set up the initial plan. In this article, you will learn how to customize templates for each collections bucket. Here’s how to do it:
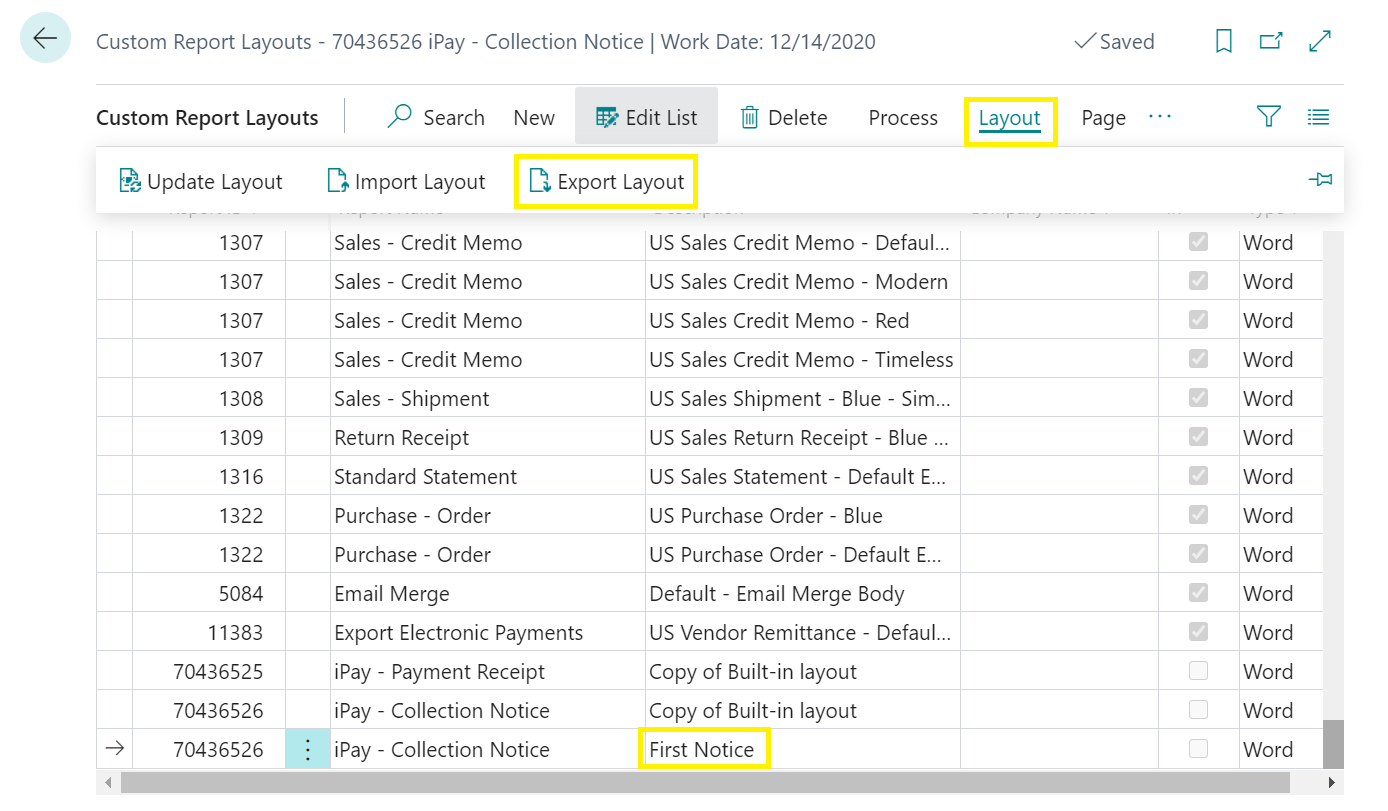
To start, you will want to open Microsoft Dynamics 365 Business Central and go to the Custom Report Layouts page and scroll down to Report ID 70436526. From here, you can select “Process” followed by “Copy.”
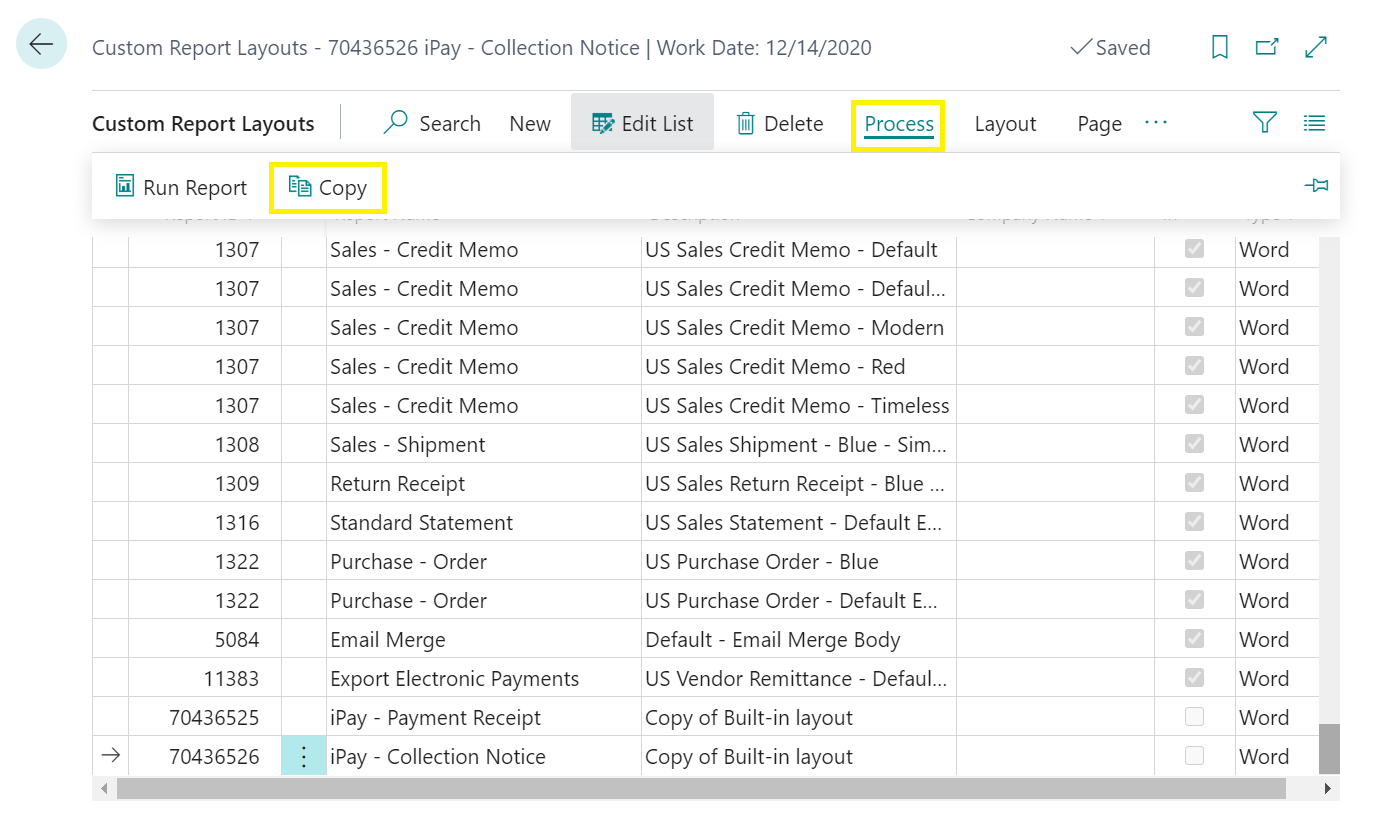
From here, you will want to rename description of the copied report. I chose to rename mine
“First Notice.” After that, you can click “Layout” and then “Export Layout.”
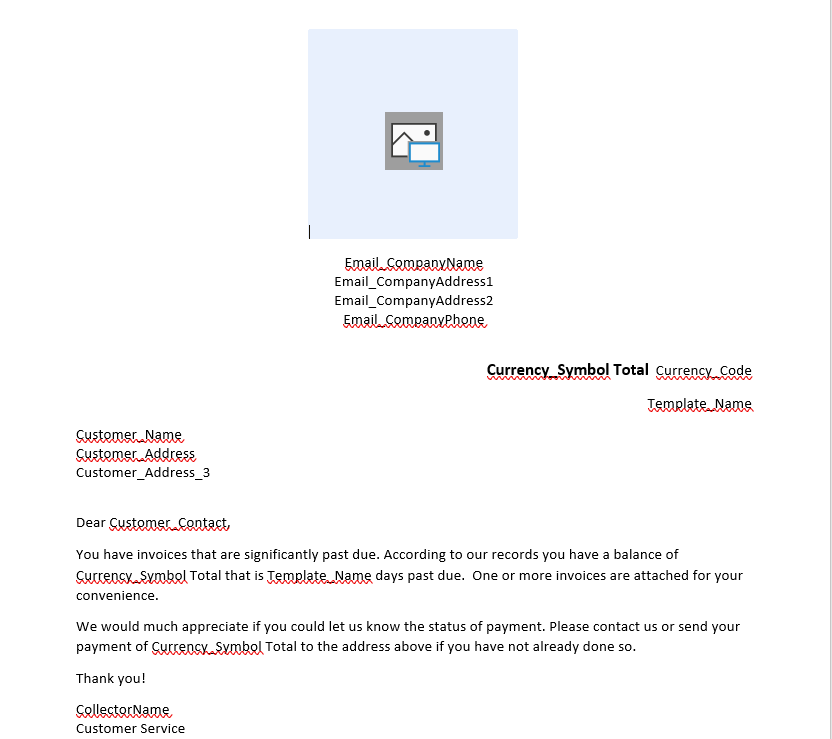
This will download a word document. When you open the document, it will look like the below format.
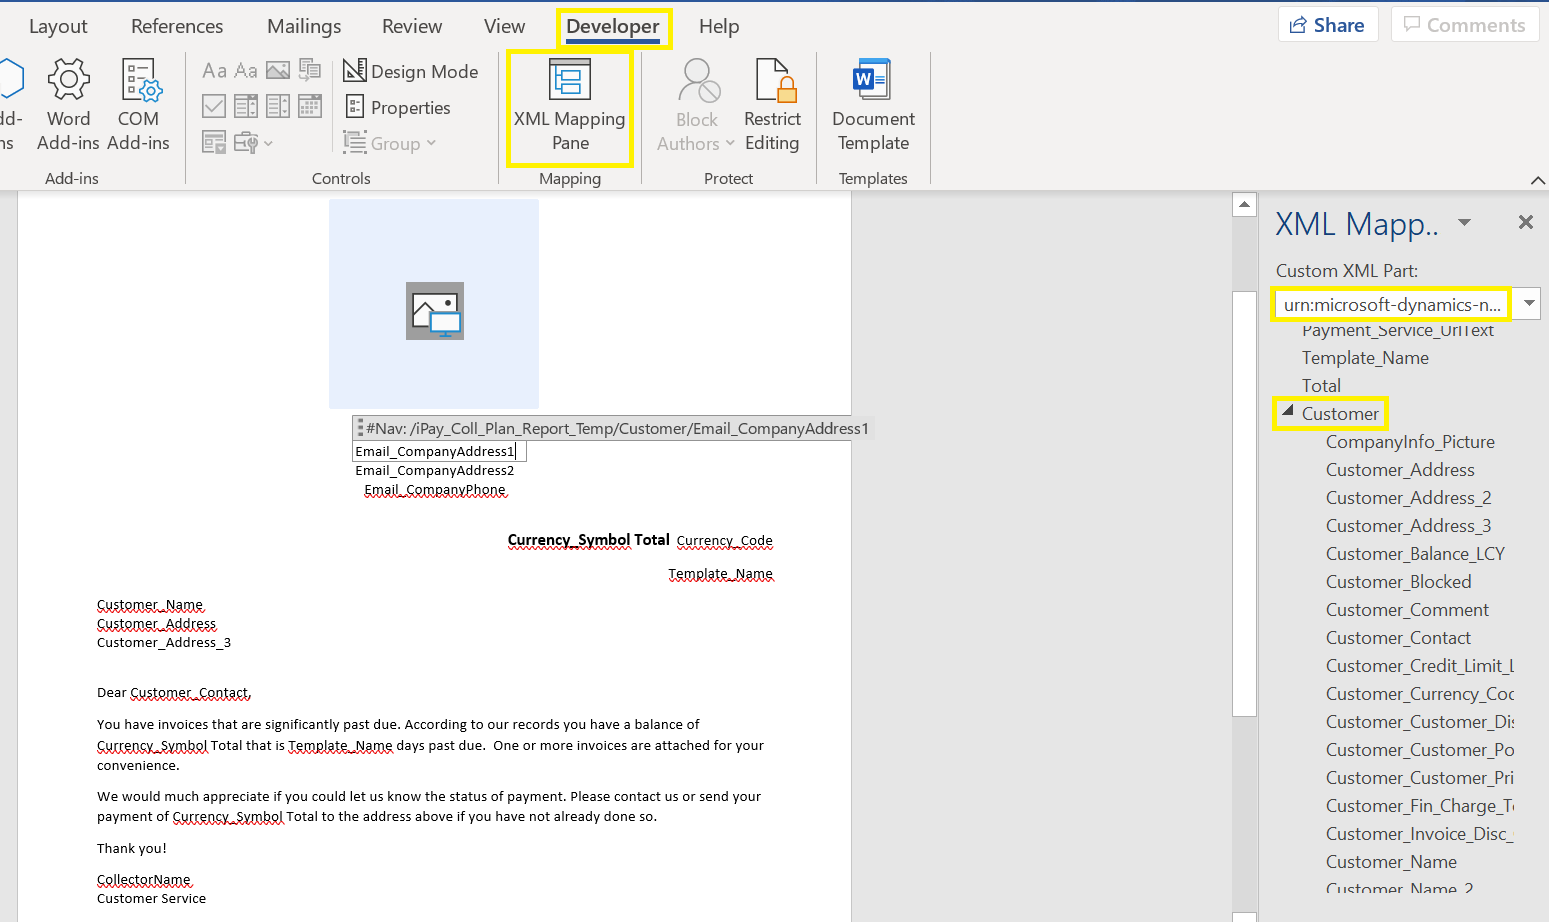
You can customize, add, or remove fields. To do so, go to the “Developer” tab in Word. Then, you will want to click “XML Mapping Pane.” This will open a side panel that will allow for customizations. Select “urn:Microsoft-dynamics” from the dropdown and scroll down to “Customers.” This drop down will allow you to drag new fields onto your Word document.
After you customize your template, be sure to save it to your computer so you can upload it to your collection plans. Repeat this process for each collections notice you plan on sending out.
Questions? Send us an email at support@isolutionsgroup.com or click here.

Recent Comments